- Right click in the right pane of the content library window to bring up the popup menu with the option Add.
- Slide the cursor to the right until you see the second popup menu showing additional options.
- Select the type of content you wish to add.
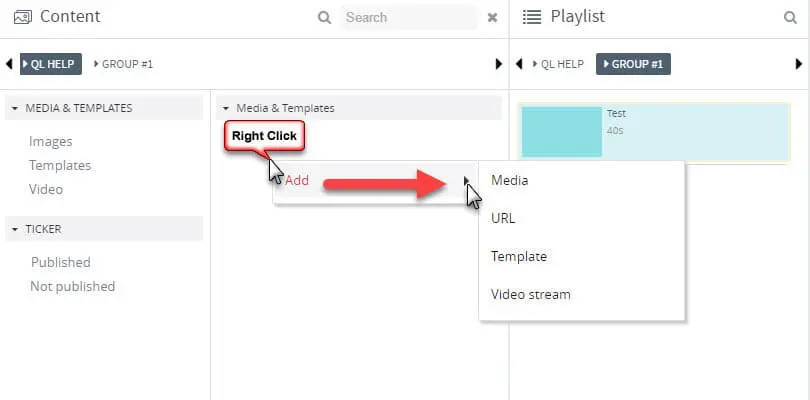
The options are:
- Media: Select a compatible media file (audio file, image, video, flash swf, zip archive* (HTML, HTML5).
- URL: Specify a web page URL (HTML, HTML5).
- Template: Opens the Template Designer.
- Video Stream: Specify a video stream URL.
*Note about compressed HTML files: LED VideoStar lets users send web pages (including all required assets such as images, xml, etc) to each player so the data is stored locally. HTML and HTML5 are both supported. Storing this data locally means the content will continue to play even if the player loses its connection to the internet. To use this feature, compress (zip) all of the files required to display the web page and then upload the zip file as media. LED VideoStar will unzip the contents and send the files to each player when required.
Uploading MEDIA:
- To add new media files, right-click Media and the Upload media window will open.
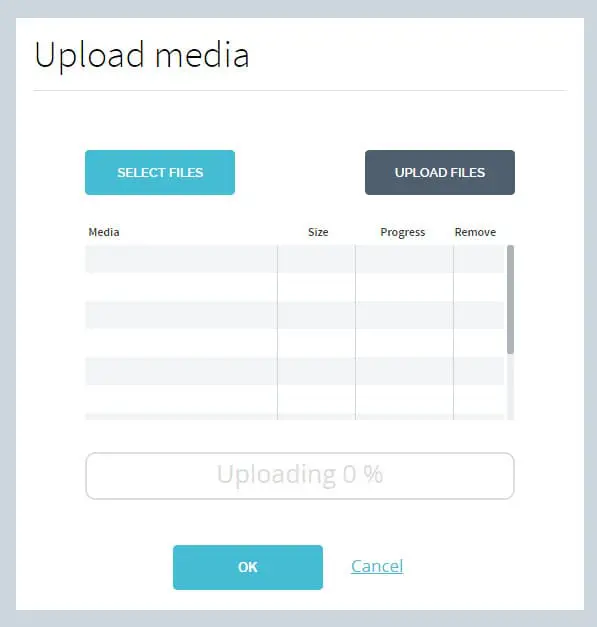
- Click Select Files.
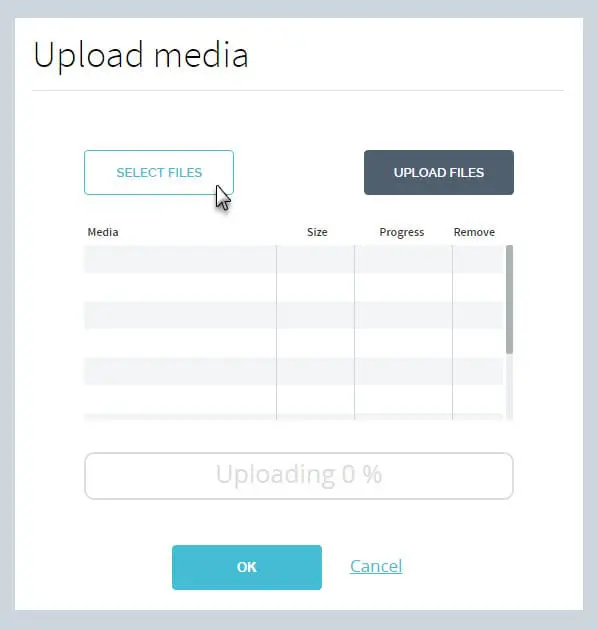
- A Windows Explorer window will open. Navigate to the folder where your content is located.
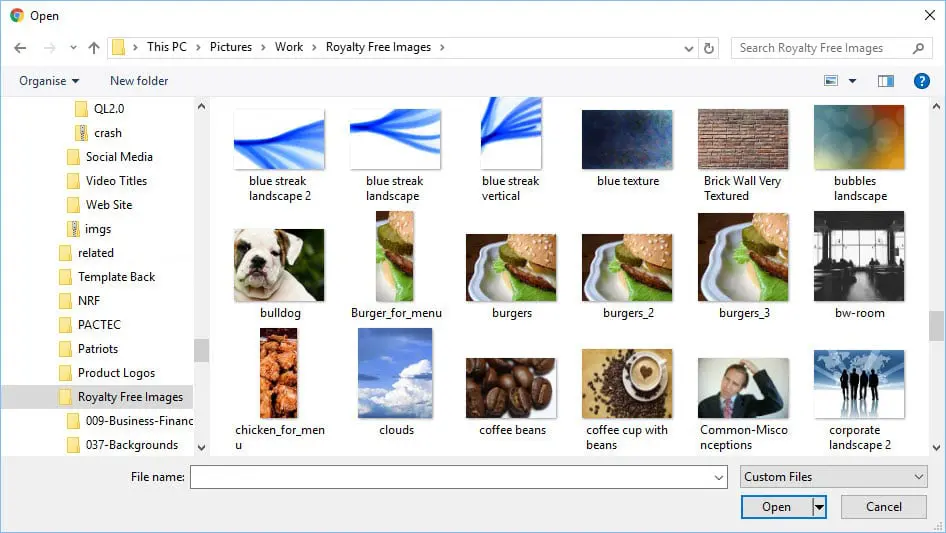
- Select one or more files to upload. If you select multiple files, they will all upload in sequence and be automatically added to the library. Click Open to add the file(s) to the upload media list.
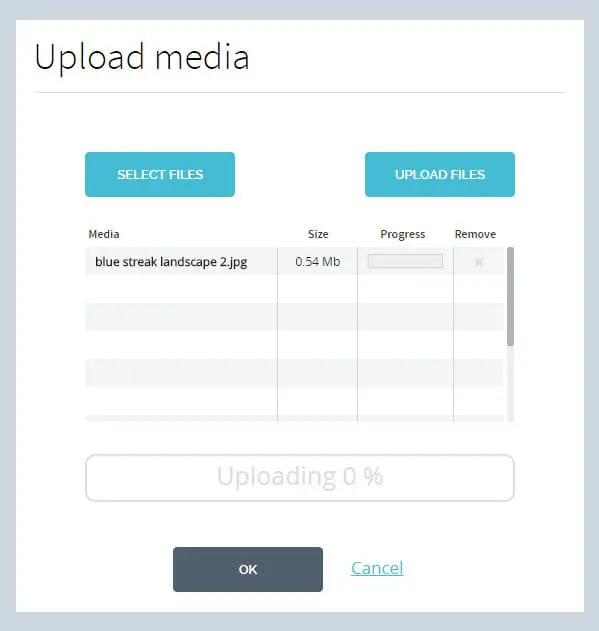
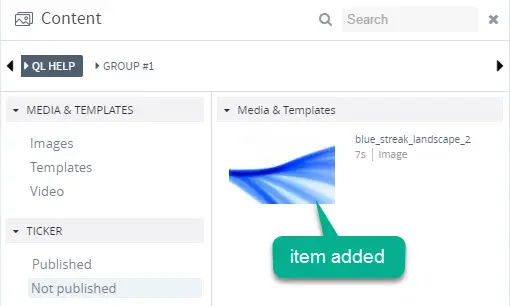
- To begin the upload process, click Upload Files. A progress bar will appear next to the file size in the table and the total upload progress will appear below the list. Once the files have all been uploaded, the window will disappear and a thumbnail representing the uploaded items will show up in the right pane of the Content window.
